Operation Guide
Creating and Managing Data APIs
This guide provides detailed instructions on how to create, configure, and manage Data APIs in ChPulse.
Creating Your First Data API
Step 1: Navigate to the API Section
In the ChPulse dashboard, click on API in the left navigation menu.
Step 2: Choose ClickHouse as the Data Source
select a ClickHouse as the data source.
Step 3: Write Your SQL Query
In the query editor, write the SQL query that will retrieve the data you want to expose through your API. For example:
SELECT
  date,
  product_name,
  SUM(sales_amount) as total_sales
FROM sales_data
WHERE date >= {start_date} AND date <= {end_date}
GROUP BY date, product_name
ORDER BY date DESC, total_sales DESC
LIMIT {limit}
Notice the parameters in curly braces ({start_date}, {end_date}, {limit}). These will become query parameters in your API.
Step 4: Save API
Click Save to create your API.
Step 5: Publish Your API
Once you're satisfied with your API, click Start to make it available
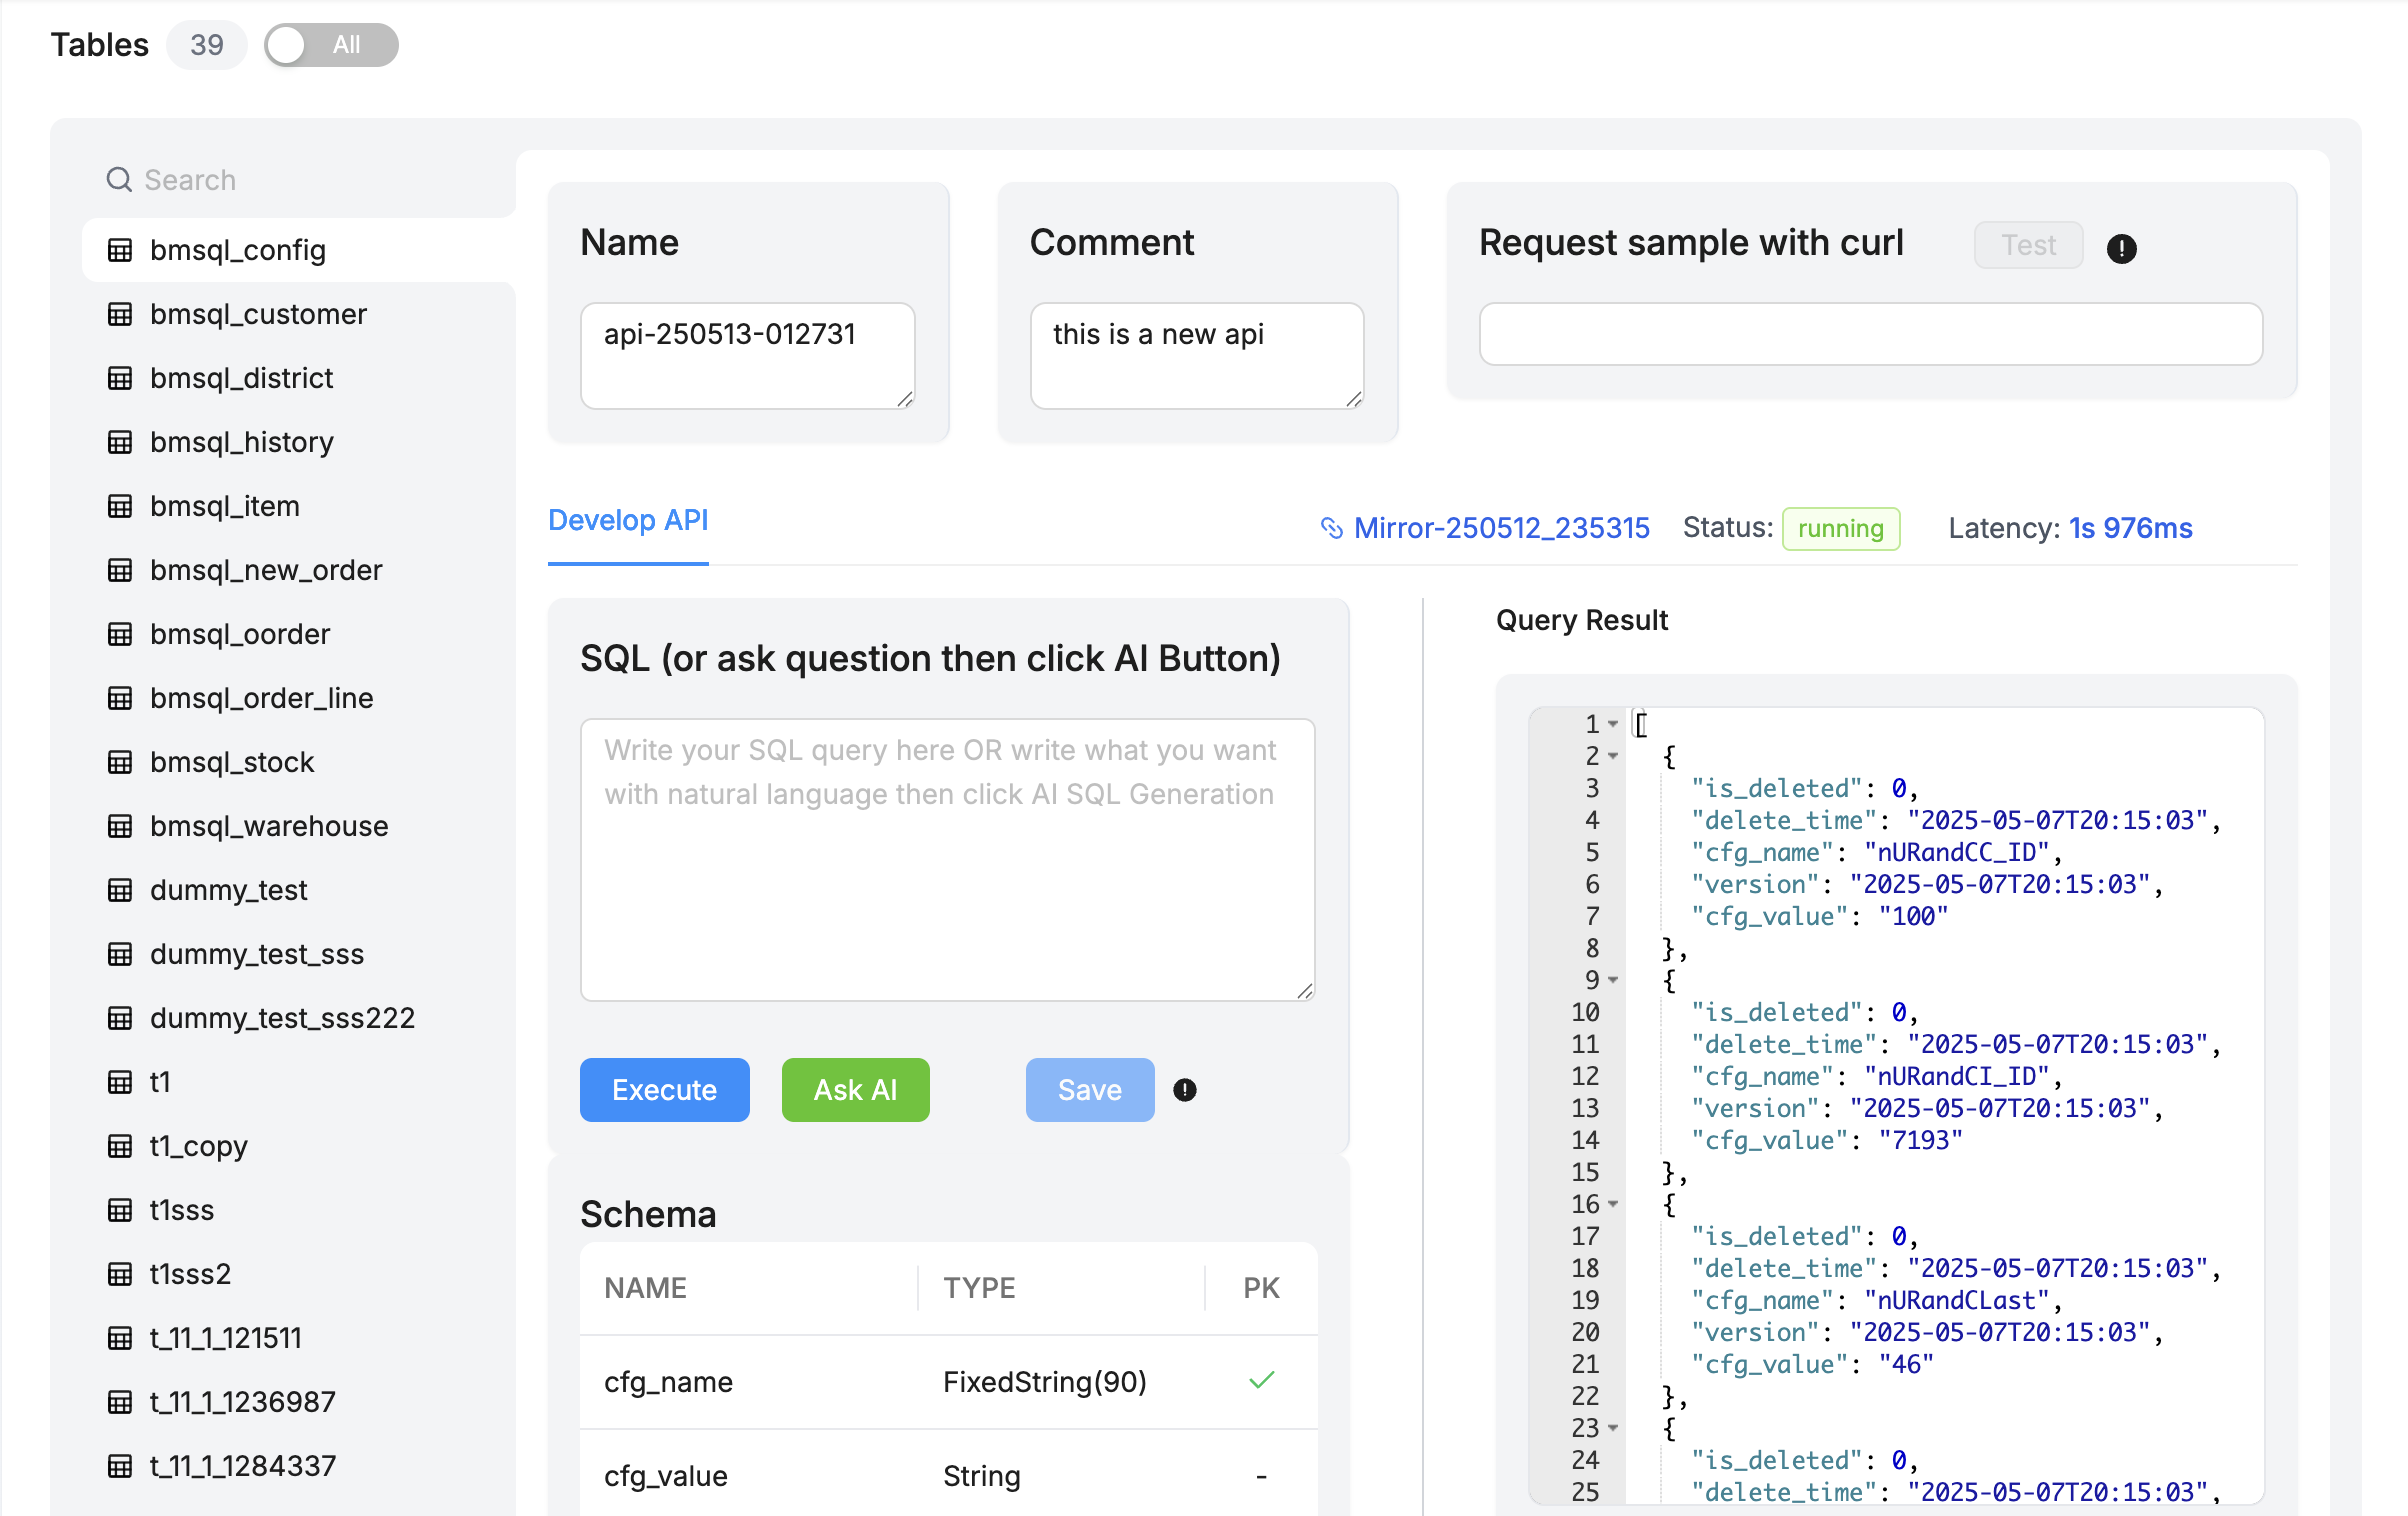
Then you can see the API is running, you can test it by clicking Test button.
Using Your APIs
API Documentation
Each API automatically generates documentation including:
- Endpoint URL
- Required and optional parameters
- Example requests
Calling Your API
Your API can be called using standard HTTP requests:
curl https://app.chpulse.co/api/query/6e70d770-33ec-41d1-b5fc-68bc68b6ae72 -H 'Content-Type:application/json' -X POST -d '{"limit": 1}' -H 'AuthorizationX: Bearer ******'
Response Format
By default, APIs return data in JSON format:
{
  "reqId": "8f036644-e6ff-4960-99dd-1e20a6b21578",
  "ts": 1747072652453,
  "data": [
    {
      "count(0)": 5074
    }
  ],
  "code": "ok"
}
Best Practices
- Keep Queries Efficient: Optimize your SQL for performance
- Use Parameters: Make APIs flexible with parameters
- Add Clear Descriptions: Document what your API does
- Set Appropriate Limits: Prevent excessive resource usage
- Monitor Usage: Keep an eye on performance and errors