Step 4: Add ClickHouse Target
Setting Up Your ClickHouse Target
Before you can mirror your data, you need to set up a ClickHouse instance as your target database. ClickHouse is a high-performance columnar database that excels at analytical queries, making it ideal for data analytics and reporting.
Options for ClickHouse
You have several options for setting up your ClickHouse target:
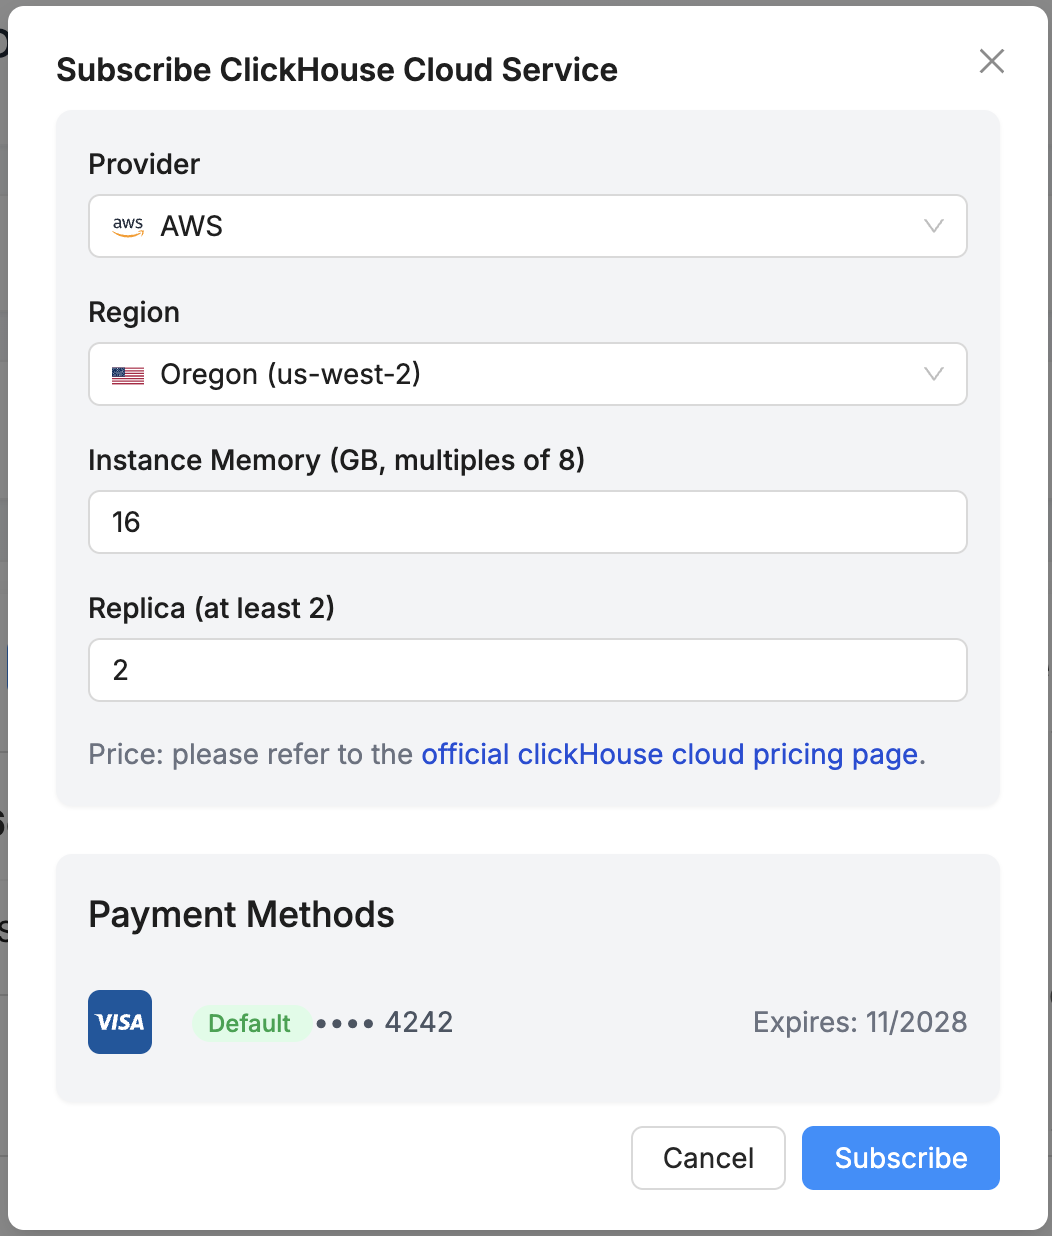
1. Use ChPulse Cloud ClickHouse
ChPulse offers a fully managed ClickHouse service that's pre-integrated with the platform. This is the simplest option with zero setup required.
Benefits:
- Zero configuration required
- Pay-as-you-go pricing
- Automatic scaling and optimization
- Seamless integration with ChPulse

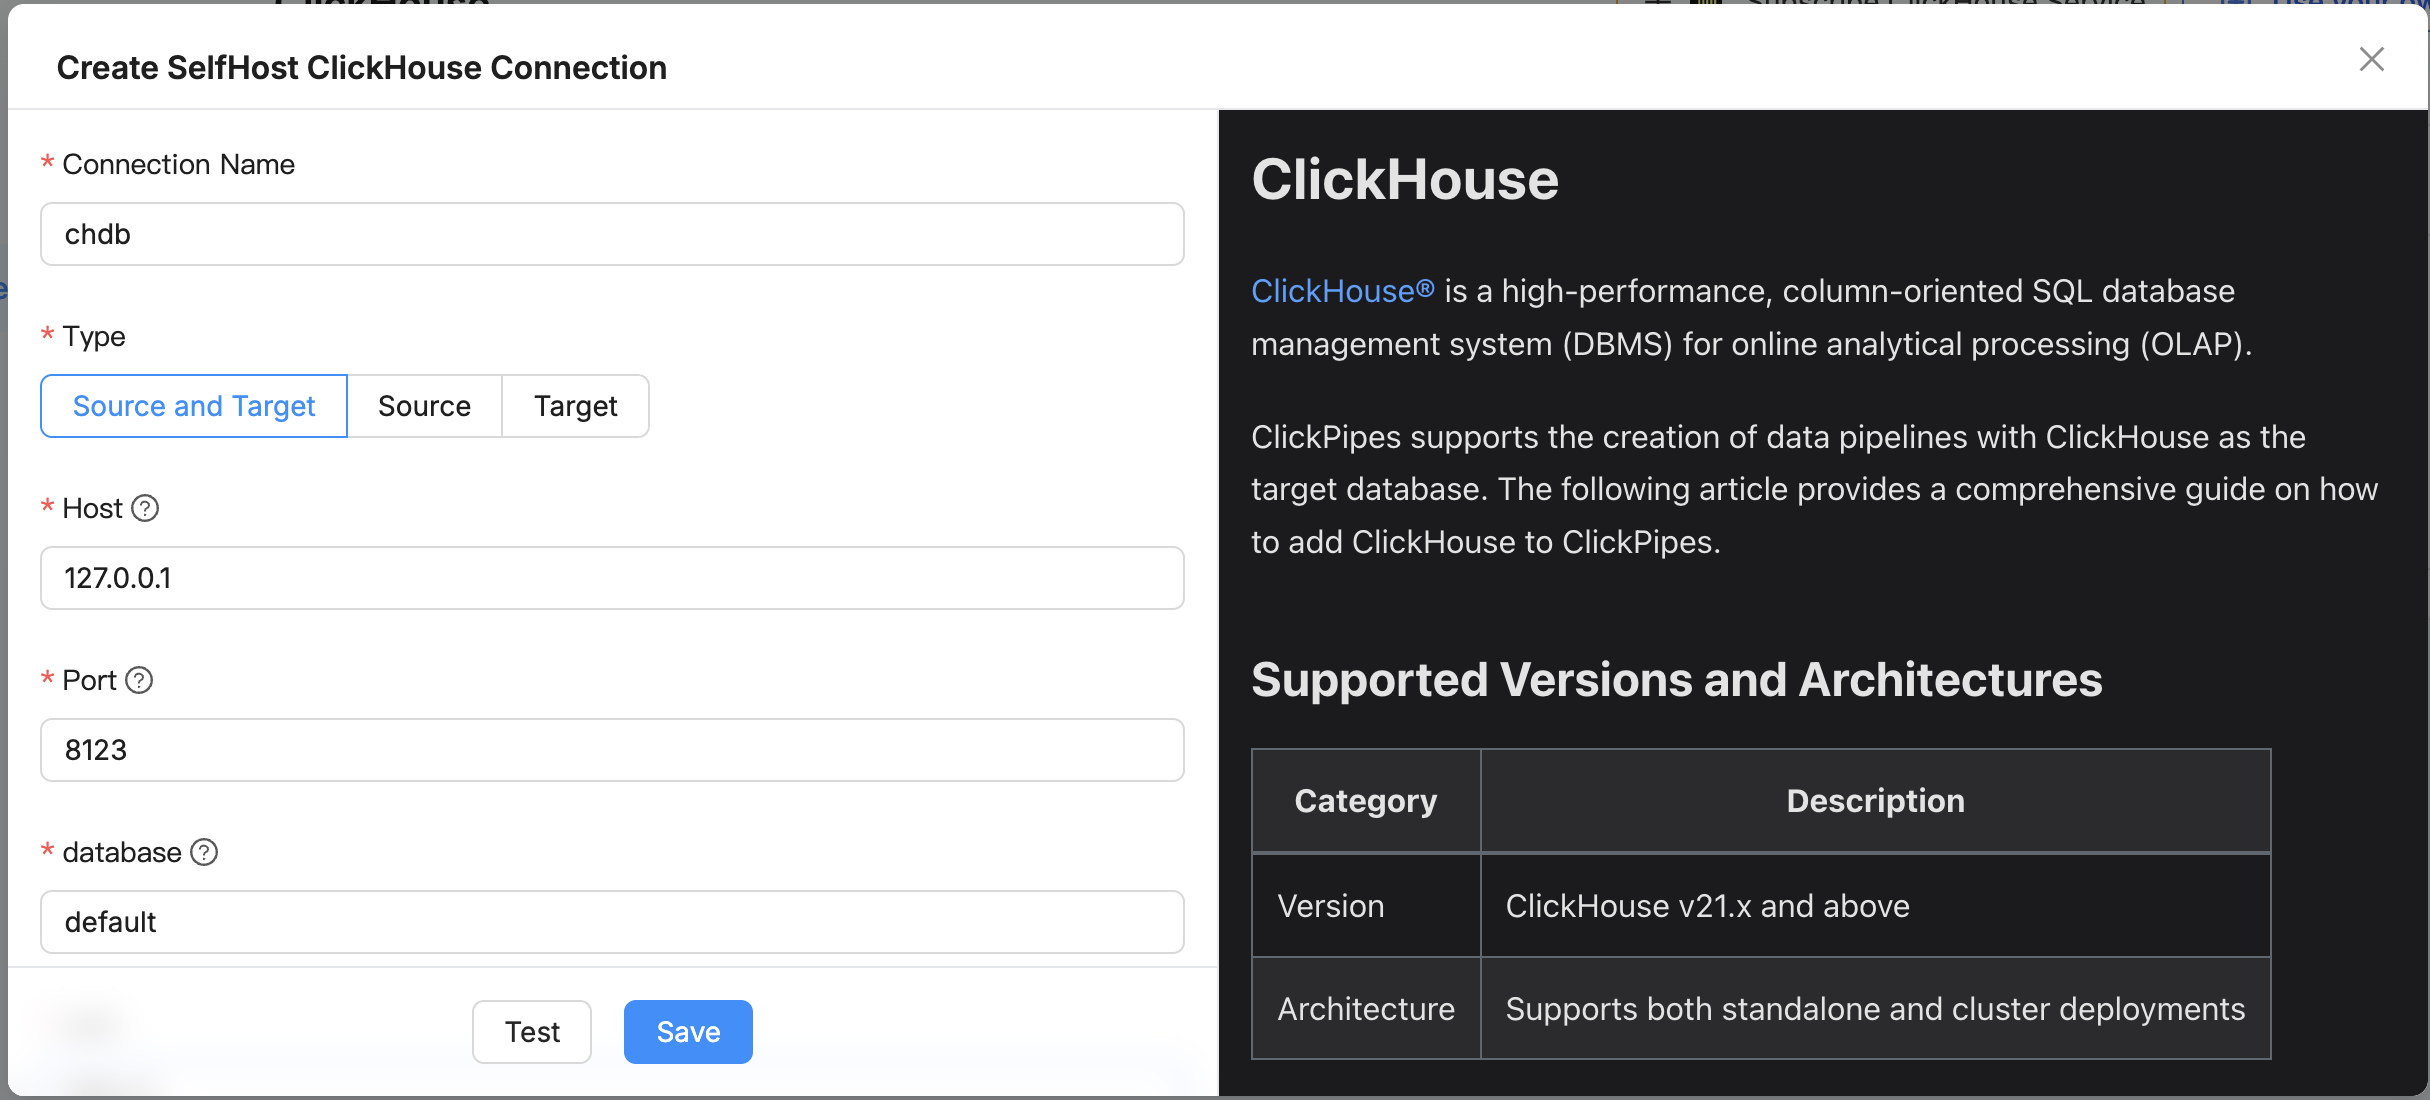
2. Connect to Your Own ClickHouse
If you already have a ClickHouse instance or prefer to manage it yourself, you can connect to your existing deployment.
Supported ClickHouse deployments:
- Self-hosted ClickHouse
- ClickHouse Cloud
- Managed ClickHouse services (AWS, GCP, Azure)
Creating a ClickHouse Connection
To create a ClickHouse connection:
- Navigate to the Connections section in the left sidebar
- Click Create and select ClickHouse
- Fill in the connection details:
- Name: A descriptive name for your connection
- Host: The hostname or IP address of your ClickHouse server
- Port: The port number (default is 9000)
- Database: The database name
- Username: Your ClickHouse username
- Password: Your ClickHouse password

- Click Test Connection to verify the connection works
- Click Save to create the connection
Next Steps
Once you've set up your ClickHouse target, you're ready to:
- Create a Mirror Task to start synchronizing data from your source to ClickHouse